How To Do Light Painting Photography?
Mesmerizing ethereal images through light painting
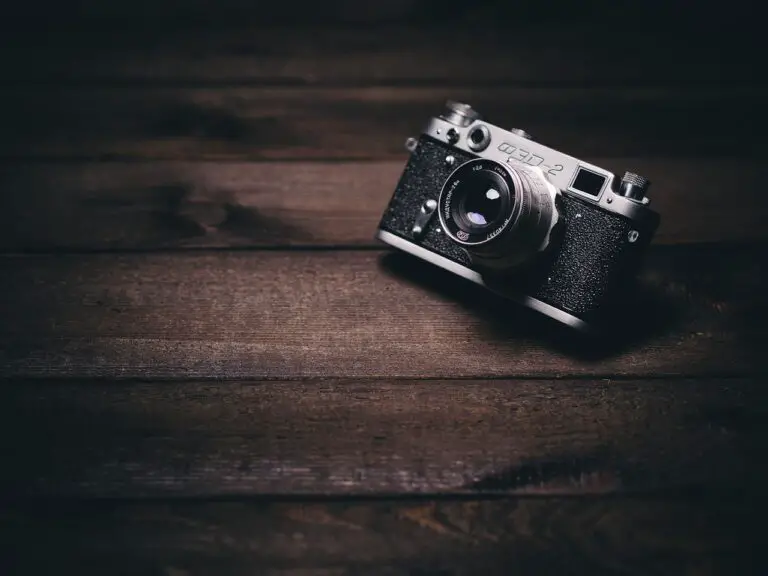
Light painting photography is a unique and creative technique that allows photographers to capture mesmerizing and ethereal images. To get started with light painting photography, you will need a few essential tools: a camera with manual settings, a tripod, a light source such as a flashlight or glow sticks, and a dark location.
Choosing Ideal Location and Stable Setup
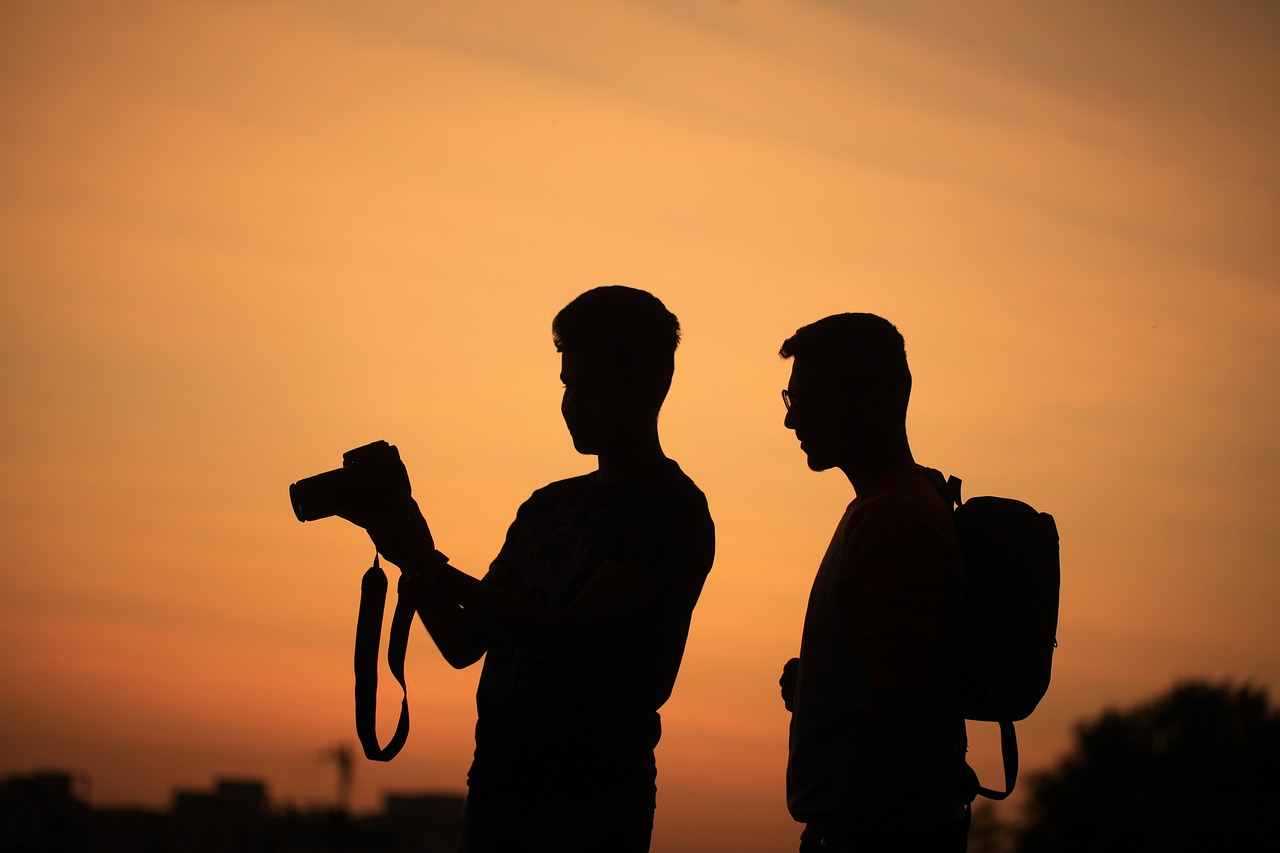
Firstly, find a suitable location for your light painting shoot. It could be a dark room, an isolated outdoor area, or even a cityscape at night. Setting up your camera on a steady tripod is crucial as it ensures stability throughout the long exposure shots that light painting requires.
Master manual camera settings for stunning long exposure photography
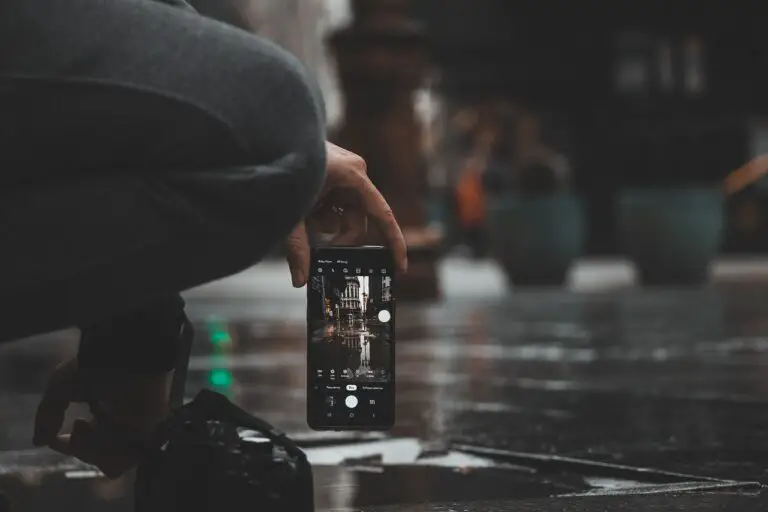
Next, set your camera to manual mode and adjust the settings to suit your desired result. Typically, a long exposure of around 15-30 seconds is needed to capture the light trails effectively. Select a low ISO to minimize noise and choose a narrow aperture (higher f-number) to achieve a larger depth of field, which helps keep the entire scene sharp.
Capture Magic with Light Painting Techniques!
Now, it’s time to paint with light! Start by pressing the camera shutter and running to a desired spot in the frame. Use your light source, whether it’s a flashlight or glow stick, to create stunning patterns, write words, or illuminate objects. Feel free to experiment with different movements and techniques, like twirling or spinning the light source, to achieve unique effects. Make sure to keep moving throughout the exposure to avoid appearing in the final image.